How to Use BookMason
Follow these step-by-step instructions to begin your journey into seamless book project management.
Register as a BookMason Admin
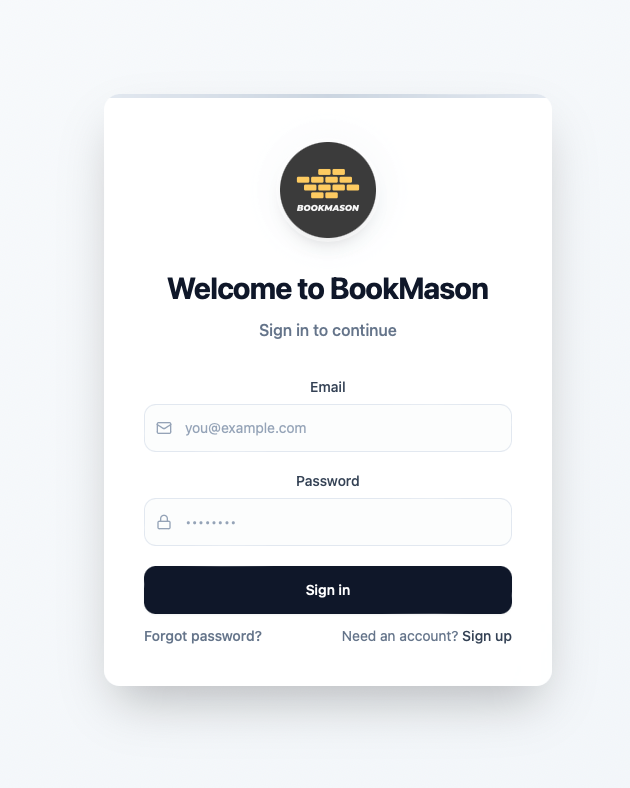
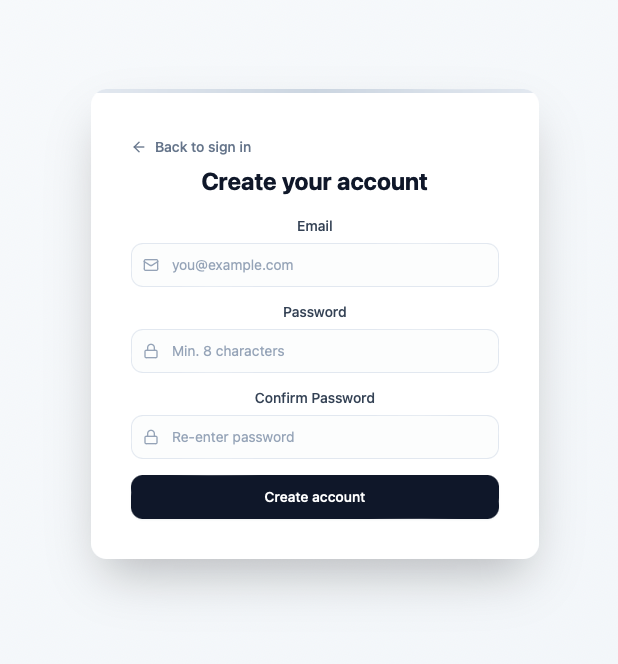
When you visit the BookMason app site for the first time, you will be invited to register. Click “Sign up” in the lower right corner of the screen. Then fill out your registration details to create your account.
Navigating the Command Center
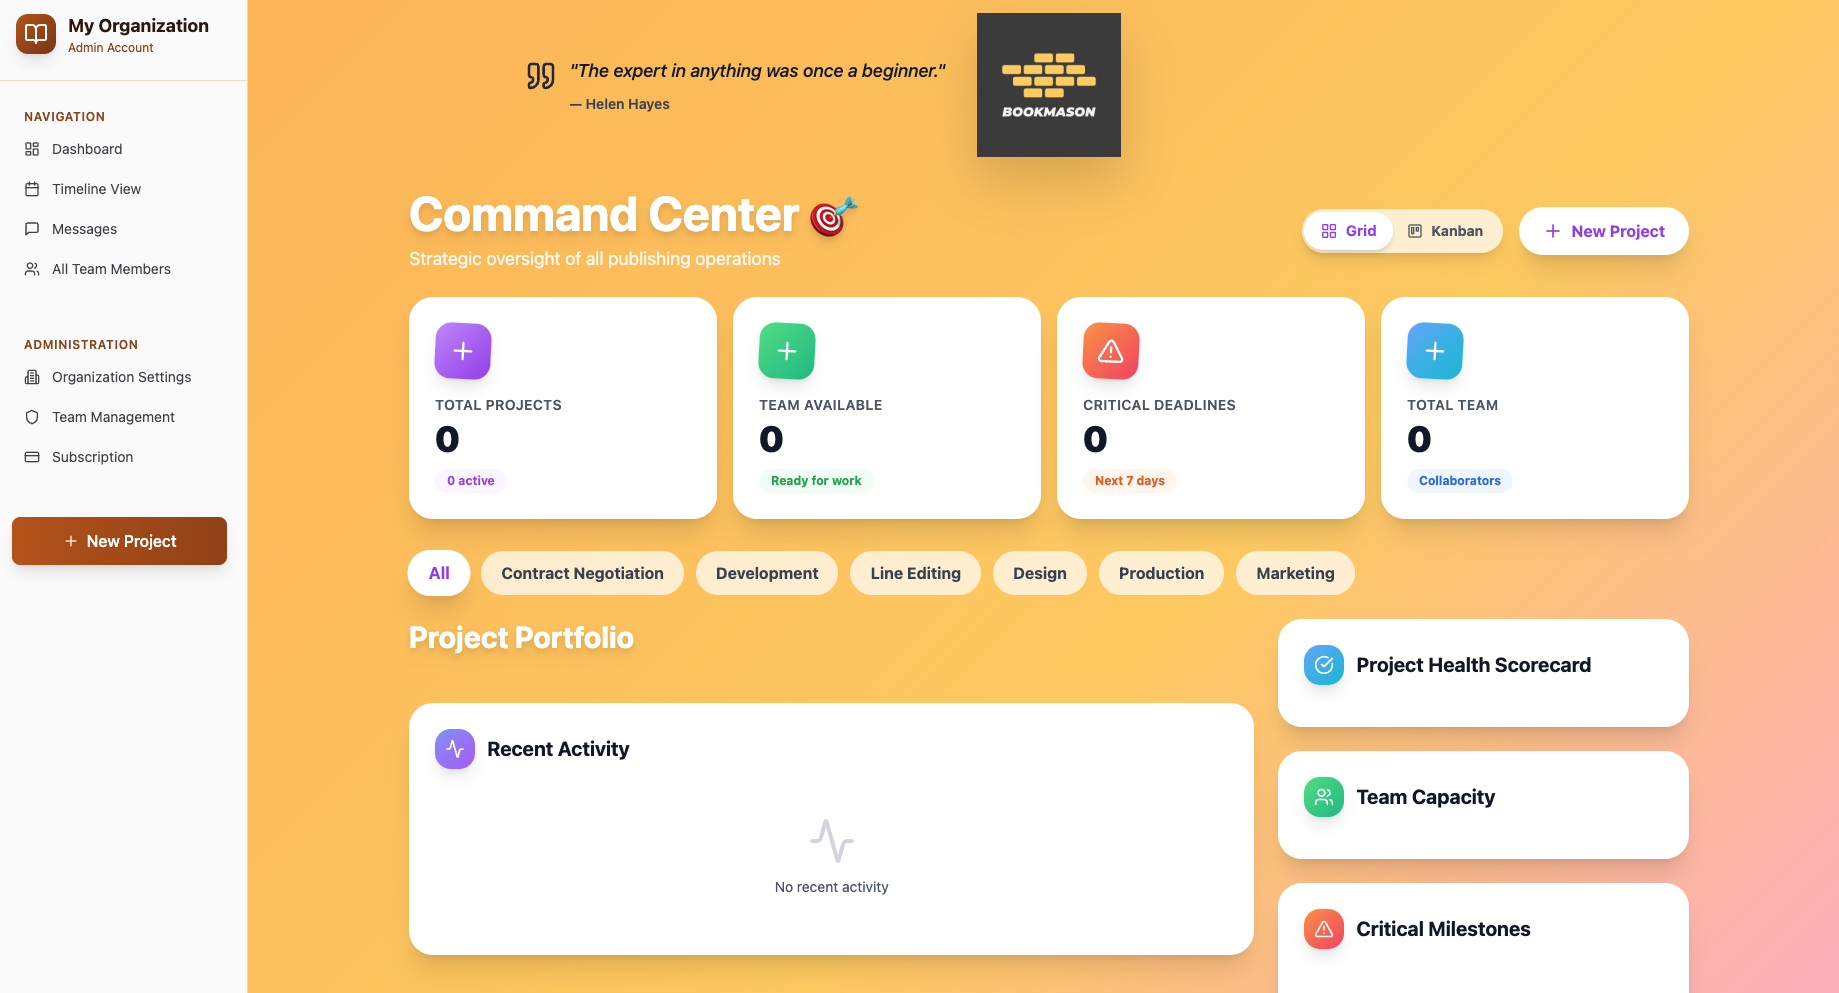
The Command Center is where you will find all of the most important information about your projects. In Dashboard view, you can see a snapshot displaying the total number of projects, upcoming deadlines, and information about your team members (collaborators). You can track each project by the stage it is currently in. And you can also keep track of recent updates from collaborators from the Command Center. Switch to Kanban view (upper right corner) to reveal where each project stands in the book production workflow.
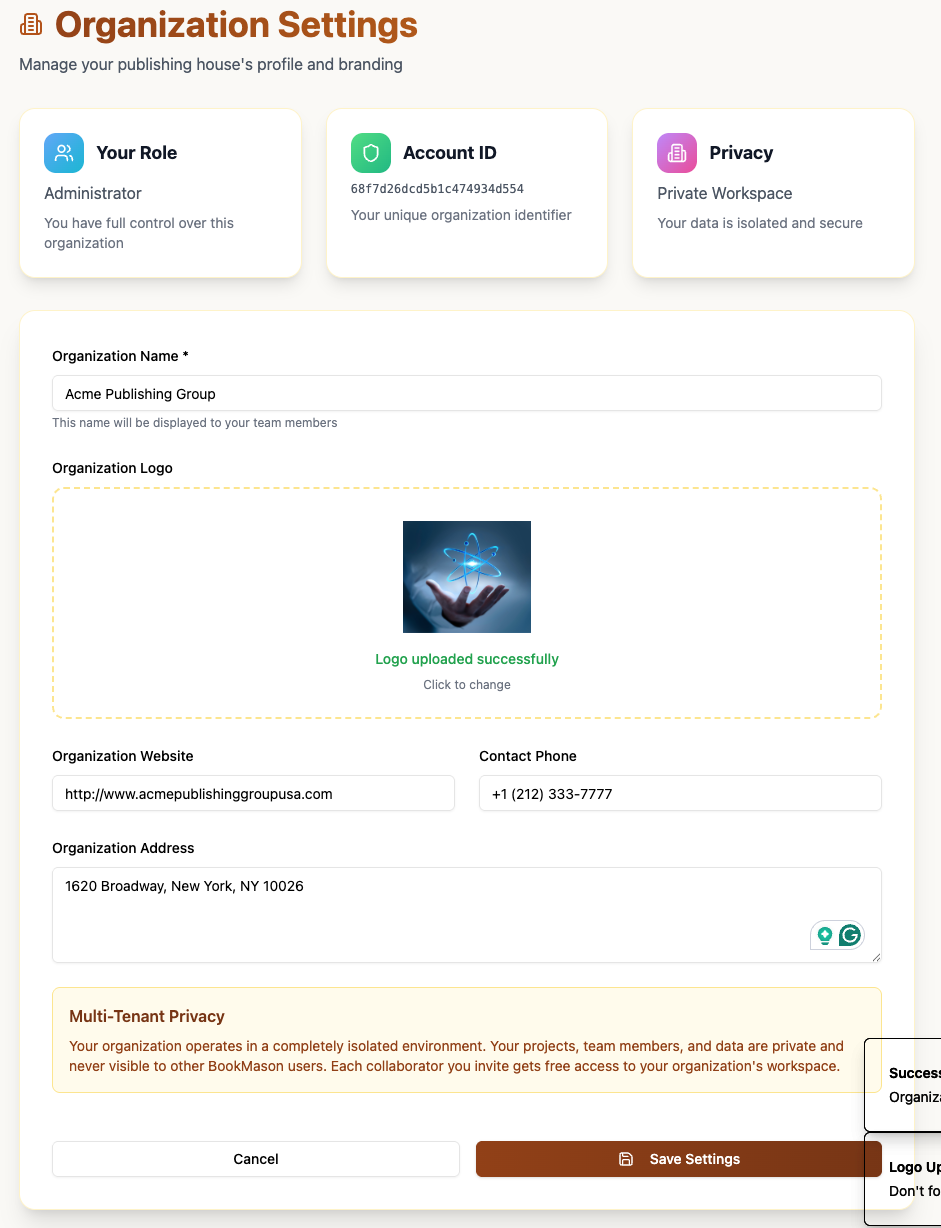
Set Up Your Organization Details
Under the Administration section, click Organization Settings. Fill out the details for your organization name, address, and phone number, as well as a company logo. Save your details by clicking the link at the bottom of the page.
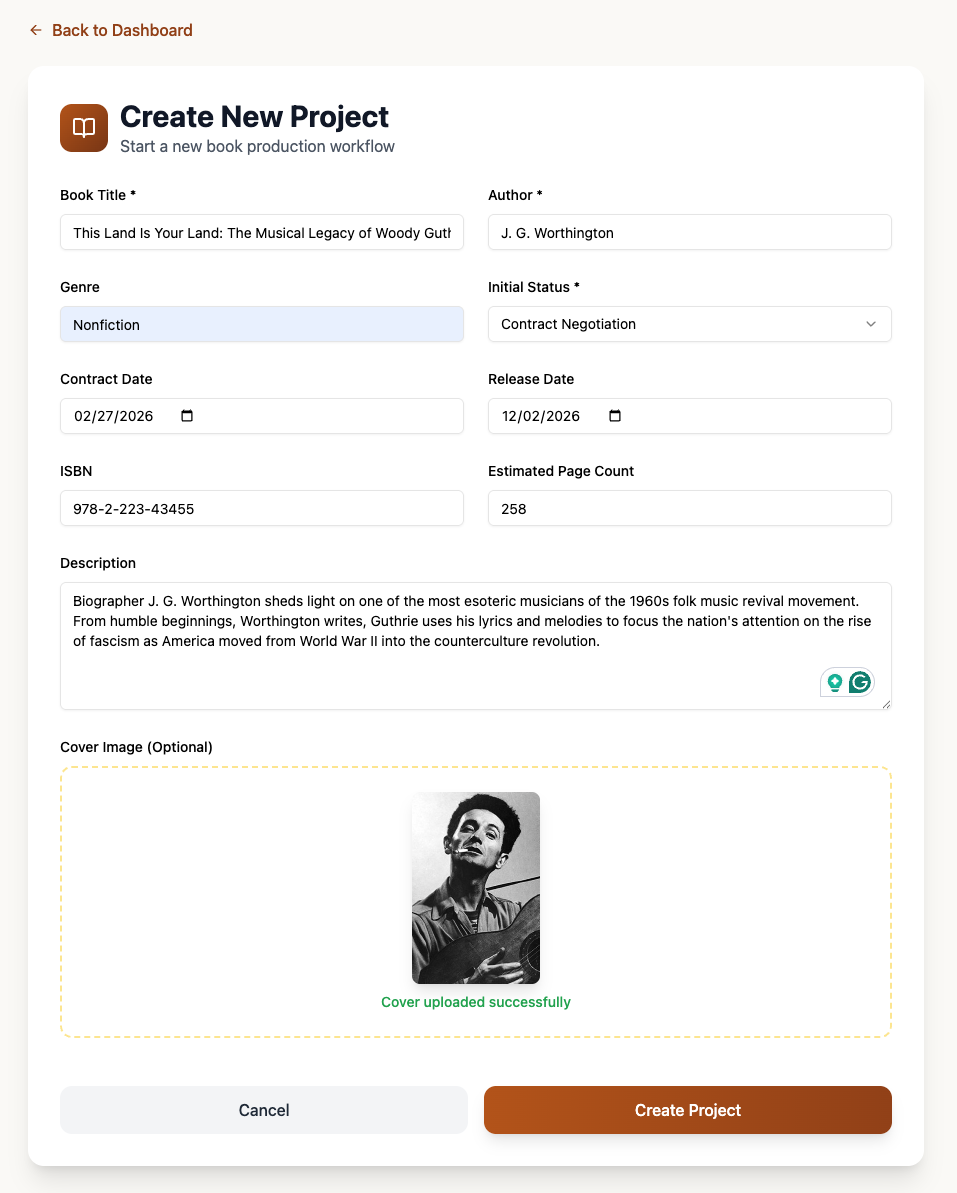
Create a New Project
Start a new project by clicking the “+ New Project” button in the upper right corner
or on the Navigation Bar on the left side of the Command Center.
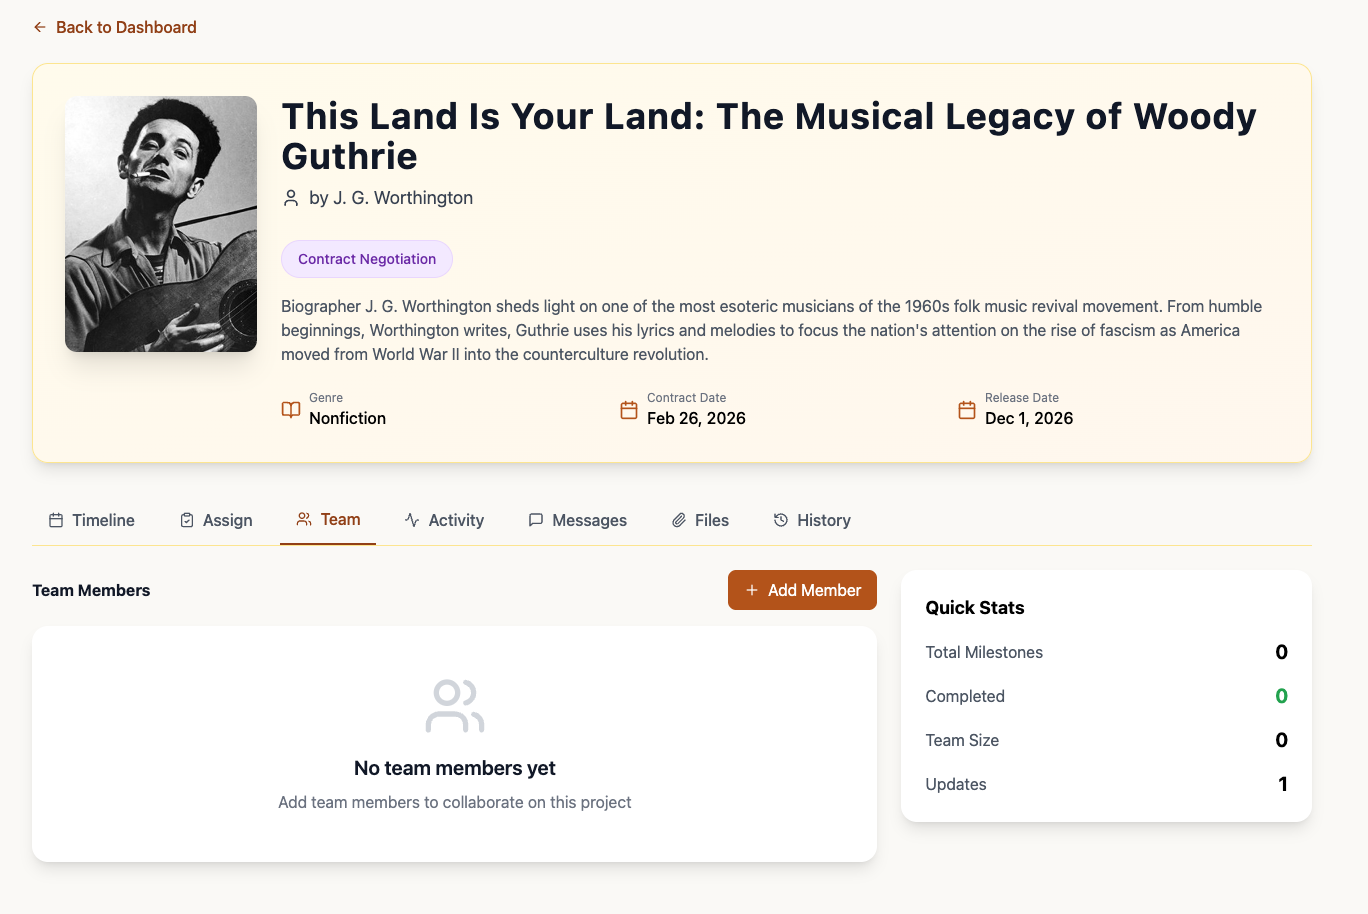
Add Collaborators to Your Team
Once you click “Create Project,” a new screen will show your project details. Now you invite members of your team who will be working on the project. This includes editors, designers, marketing specialists, and digital publishers. Click on the “Team” tab and then “+ Add Member.”
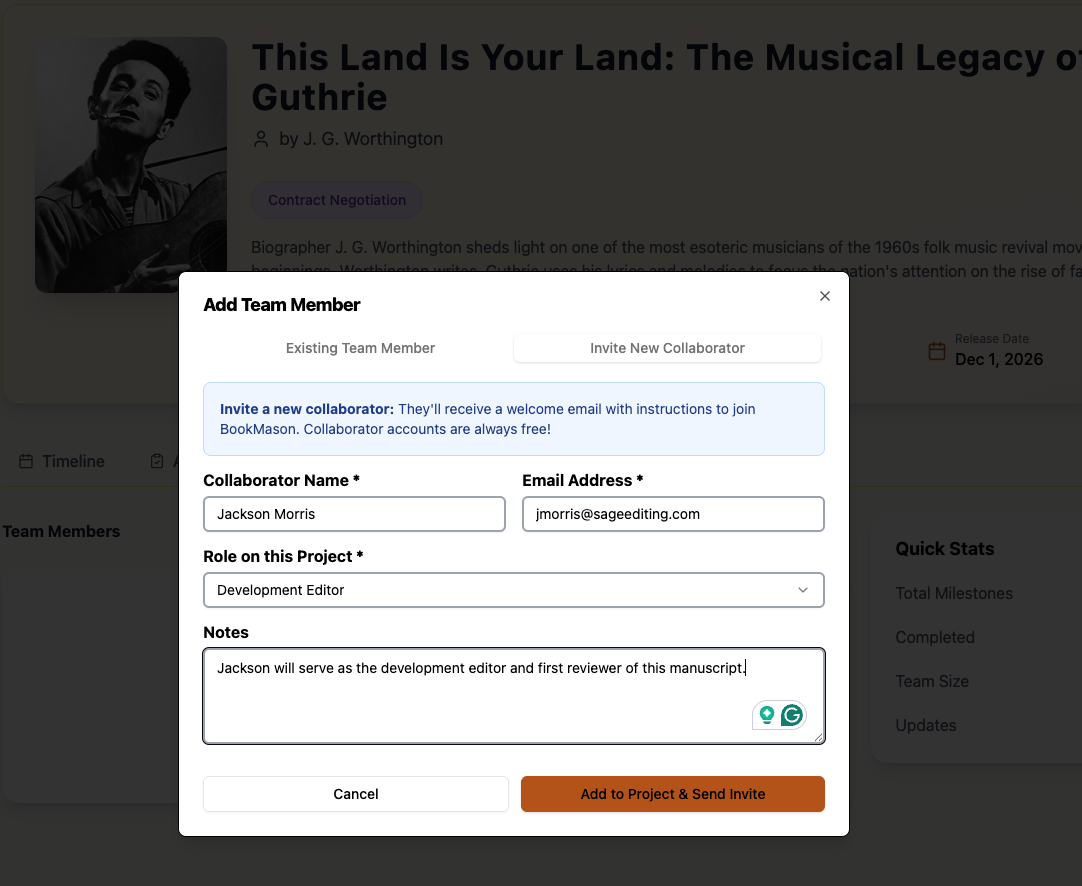
Under the new tab that opens, fill in your member details. Click “Invite New Collaborator” or select from a list of existing collaborators. Choose the appropriate role of the collaborator from the dropdown menu. BookMason will send the new team member a link to join the app as a Collaborator (free membership) when you click the link at the bottom of the window.
Assign a New Task to a Collaborator
If you haven’t added your collaborators first, go back to the previous step. Otherwise, you will not be able to assign tasks. The Collaborator must accept the BookMason invite via email to be assigned tasks. Click “Create Assignment” to add the task to the project Timeline.

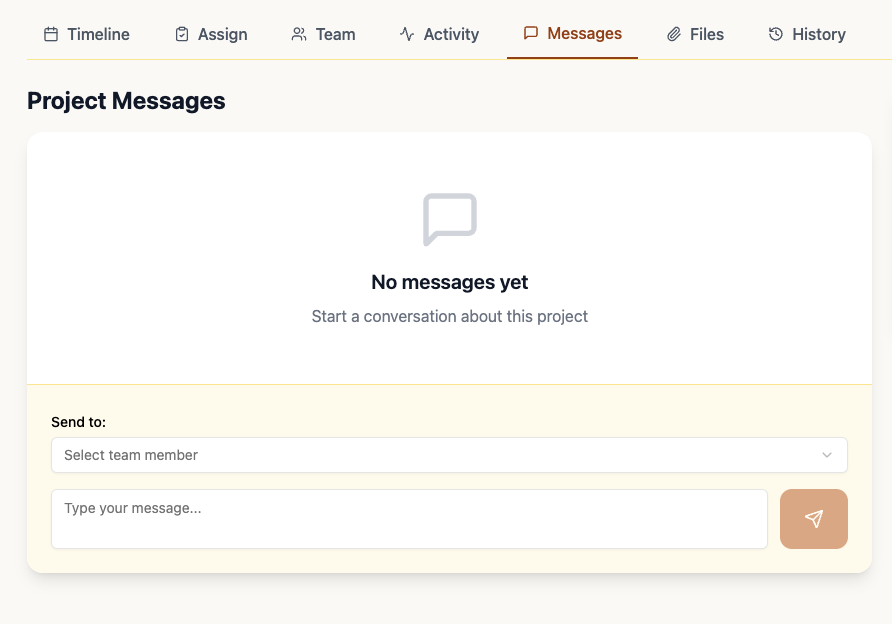
You can communicate with Collaborators by using the Messages tab. Just send the message as you would with any other DM service. Your Collaborator will see the message when they log into the desktop app or via notification in the mobile app. The bell icon in the upper-right corner of your desktop app will display new messages from Collaborators.
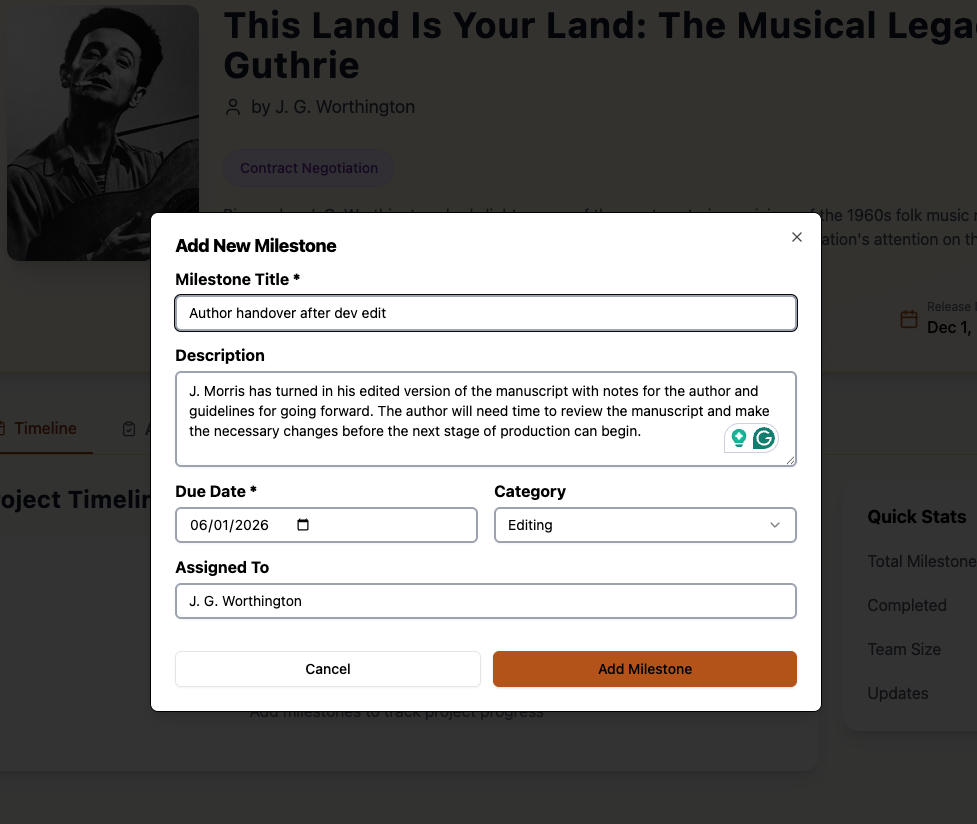
Keep Track of Important Project Milestones
Keep track of all your important project milestones for each of your projects by adding milestone details. Under the Timeline tab, click “+ Add Milestone” to add information to your Timeline.
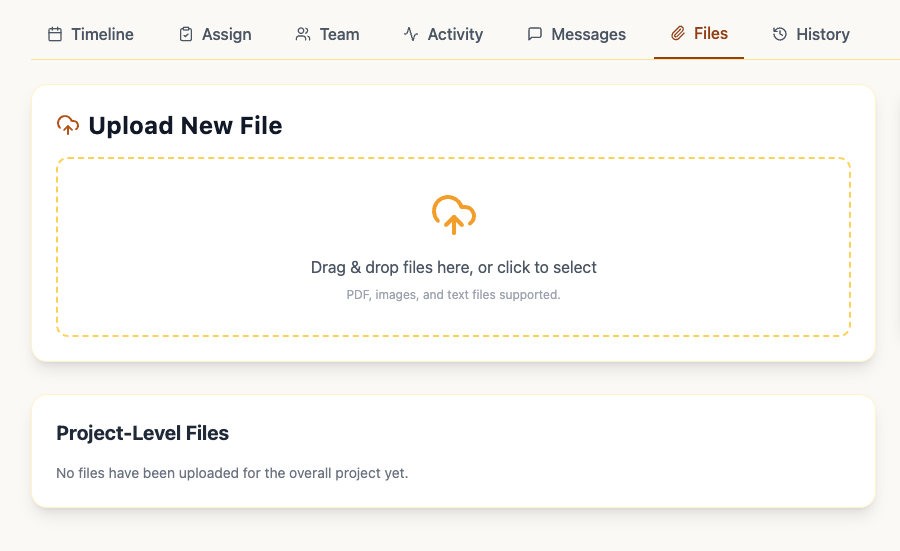
Use the Files tab to add project-specific files such as manuscript versions, contracts, or images that can be later downloaded to your desktop.